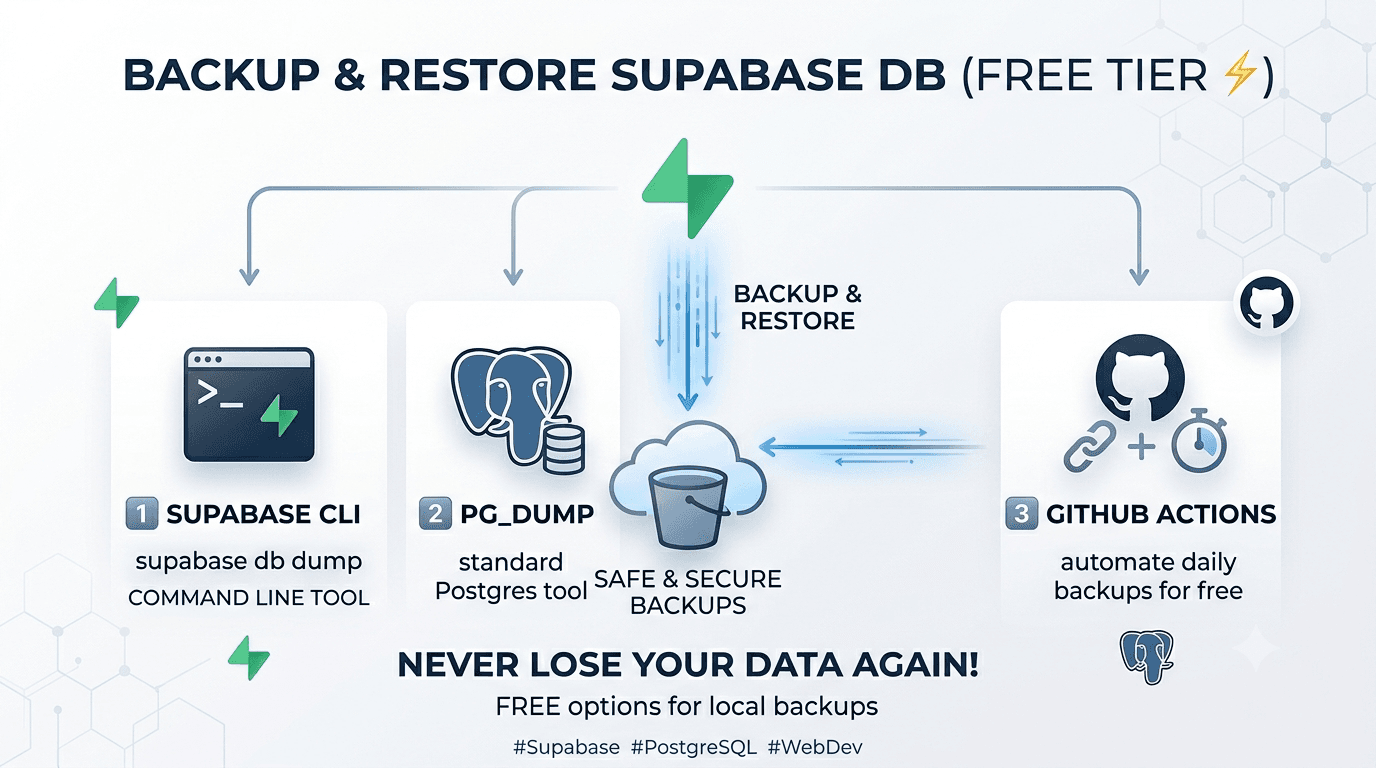
Automate Supabase Database Backups Using GitHub Actions
Backing up a database is one of those things everyone knows they should do…
until something breaks and there’s no backup 😅
If you’re using Supabase, the good news is:
you can fully automate PostgreSQL backups using GitHub Actions + Supabase CLI in just a few minutes.
This setup:
Runs automatically
Stores backups securely
Requires zero manual effort after setup
Why Automate Supabase Backups?
Supabase handles infrastructure well — but your data is still your responsibility.
Automation gives you:
✅ Regular backups (daily / PR / manual)
✅ Versioned SQL dumps
✅ Easy recovery
✅ Peace of mind
⚠️ Important: Always use a private GitHub repository for backups.
What We’re Building
A GitHub Actions workflow that:
Uses Supabase CLI
Backs up:
roles
schema
data
Runs:
On push to
mainOn pull requests
Daily (cron)
Manually
Commits backups automatically
Step 1: Get Your Supabase Database URL
Go to your Supabase Dashboard → select your project → click Connect (top-right).
You’ll see multiple connection options.
⚠️ Direct Connection vs Pooler (Important Read)
Initially, I tried using the Direct Connection (port 5432) like this:
postgresql://postgres:[PASSWORD]@db.[project-ref].supabase.co:5432/postgres
But in GitHub Actions, this caused the following error:
pg_dumpall: error: connection to server at "db.xxx.supabase.co" (2406:da18:...)
port 5432 failed: Network is unreachable
Why This Happens
Supabase Free projects do not have dedicated IPv4
DNS resolves the database host to IPv6
GitHub Actions runners (
ubuntu-latest) cannot reach Supabase IPv6 on port 5432Result: ❌ backup job fails
You can fix this on paid Supabase plans by forcing IPv4 —
but on the Free tier, the reliable solution is the Connection Pooler.
✅ Use the Connection Pooler (Recommended)
From the Connect dialog:
Choose Connection Pooler
Use Transaction mode
Port: 6543
Example:
postgresql://postgres.[project-ref]:[PASSWORD]@db.[project-ref].supabase.co:6543/postgres
This works reliably in GitHub Actions and is perfect for backups.
Step 2: Add the Database URL as a GitHub Secret
In your GitHub repository:
Go to Settings → Secrets and variables → Actions
Click New repository secret
Add:
Name: SUPABASE_DB_URL
Value: <pooler connection string>
Your credentials stay encrypted and never appear in logs.
Step 3: Create the GitHub Actions Workflow
Create the file:
.github/workflows/backup.yml
Paste this:
name: Supabase Backup

on:
  push:
    branches: [ main ]
  pull_request:
    branches: [ main ]
  workflow_dispatch:
  schedule:
    - cron: '0 0 * * *' # Daily

jobs:
  run_db_backup:
    runs-on: ubuntu-latest
    permissions:
      contents: write
    env:
      DATABASE_URL: ${{ secrets.SUPABASE_DB_URL }}

    steps:
      - uses: actions/checkout@v3

      - uses: supabase/setup-cli@v1
        with:
          version: latest

      - name: Create backup folder
        run: mkdir -p supabase_backup

      - name: Backup roles
        run: supabase db dump --db-url "$DATABASE_URL" -f supabase_backup/roles.sql --role-only

      - name: Backup schema
        run: supabase db dump --db-url "$DATABASE_URL" -f supabase_backup/schema.sql

      - name: Backup data
        run: supabase db dump --db-url "$DATABASE_URL" -f supabase_backup/data.sql --data-only --use-copy

      - uses: stefanzweifel/git-auto-commit-action@v4
        with:
          commit_message: "Automated Supabase backup"
📁 Note About the supabase_backup Folder
GitHub Actions can create folders during a run, but Git only tracks folders once a file exists.
To avoid confusion on the first run, it’s best to create the folder once.
Quick Options
Option 1: Locally
mkdir supabase_backup
git add supabase_backup
git commit -m "Add supabase backup folder"
git push
Option 2: On GitHub
Create a file named:
supabase_backup/.gitkeepCommit it
After this, the workflow will automatically dump backups into the folder.
Where Are the Backups Stored?
After each run, your repo will contain:
supabase_backup/
├── roles.sql
├── schema.sql
└── data.sql
You can pull the repository anytime to access them.
Restoring from Backup (Quick Note)
To restore:
Create a new Supabase project
Connect using
psqlRestore in order:
roles.sqlschema.sqldata.sql
This article focuses on creating reliable, automated backups.
The step-by-step restore process deserves its own dedicated post, because it involves:
Creating a fresh Supabase project
Restoring roles, schema, and data in the correct order
Handling extensions, ownership, and permissions safely
👉 In the next blog, we’ll walk through the complete restore process
Key Takeaways
Supabase backups can be fully automated
Free tier users should use the Connection Pooler
Back up roles, schema, and data
Store backups in a dedicated folder
Always use private repositories
Reference
Supabase Docs:
https://supabase.com/docs/guides/deployment/ci/backups